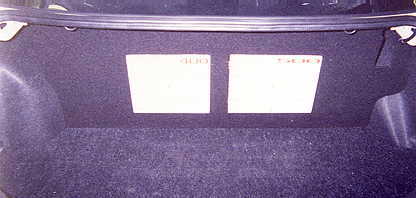
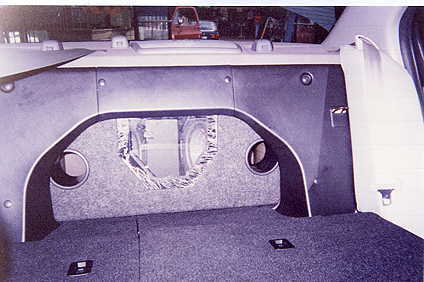
Can you believe this is the template for the "fill" panel?
First the pattern gets transferred to 1/4" tempered hardboard. Then comes the hard part, filing for the perfect fit. There are no screws, and though it holds firmly for the thrashing any car gets, can be easily removed in seconds starting from the bottom.
The whole job was done in 8 hours.
How's that for "same day service"!!
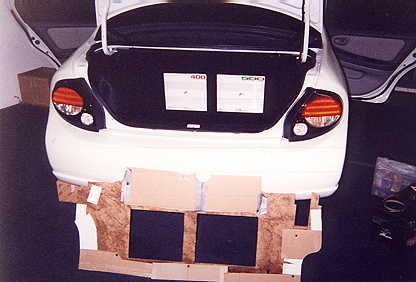
I was asked to come up with a "custom" look for this Maxima back when it was brand-new. With the customer's budget, I had to use the amps from his last car, and an "off-the-shelf" box. Without a huge parts bill, I put the money where it mattered..... custom install! Usually a ready-made box will create a lot of extra work getting it to blend in, and we only had 1 shot. As usual the customer had big plans for his new tunes, and was leaving town the next day!
I've found over the years that a well cut "fill" panel in the trunk will do the most for enhancing the looks of a job, and since I had a couple of matching anps, it made the job a little easier.
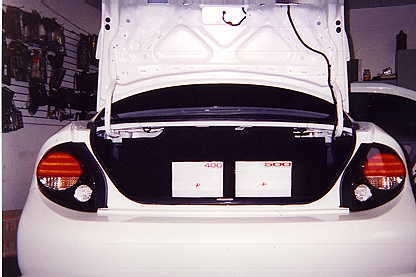
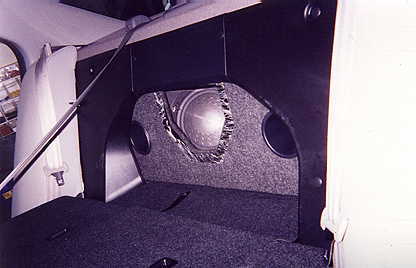
As close as you can get, this one still looks great. Mounting the amps to the back of the speaker box saved having to build an amp rack, and the customer a lot of cash.
This double 10" pre-made bandpass box was a naturally good fit, and I was able to secure it to the sheet metal between the trunk and passenger compartment, allowing access to the spare tire when necessary. Rocking the box forward to get the excellent reveal, allows clearance under the rear for spare-tire access from the trunk after removing the fill panel.
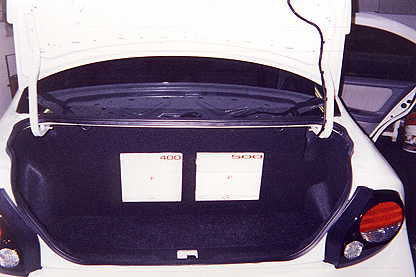
The box looks decent, and the band-pass design gets a lot of bump for the bucks. This angle shows how I did manage to get the fit nice and tight against the pass-thru trim.