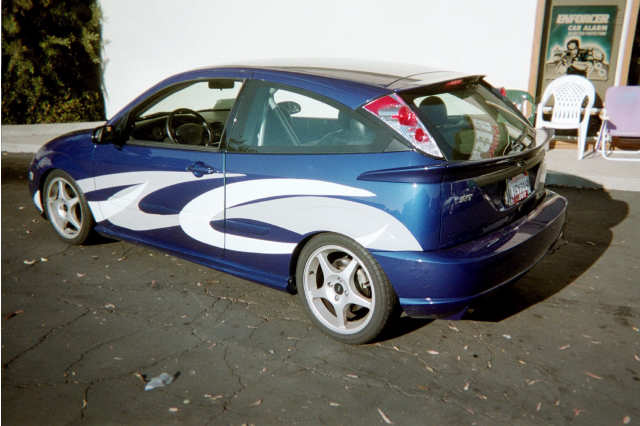
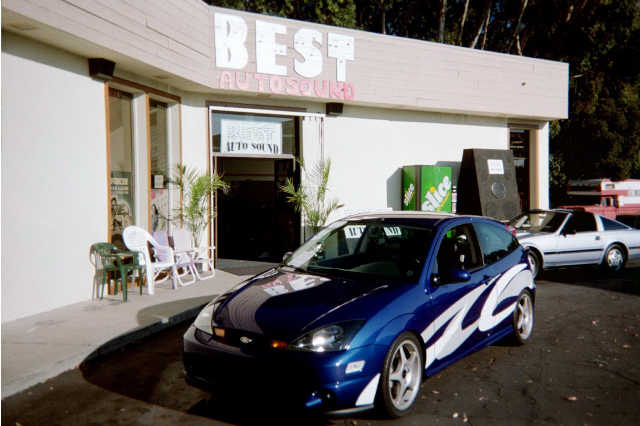
She looked good on the outside when I got her. The Owner wanted to update with some Video, PS2 style, then add a quality sound system, with plenty of reserve capacity for those long days at the car shows.
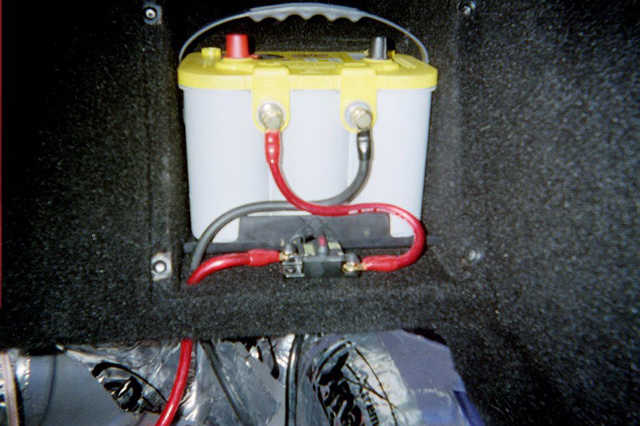
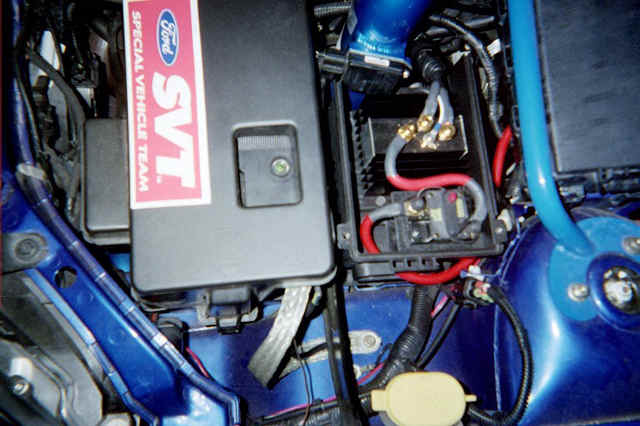
I like to use a dual battery isolator for this kind of set-up, so we needed to locate, and install these components, as well as place an extra battery in the car.
The cold air intake left space from the stock airbox, and I was able to use the lower section as a mounting base for my underhood components. A 100 Amp Isolator, and a 100 Amp breaker.
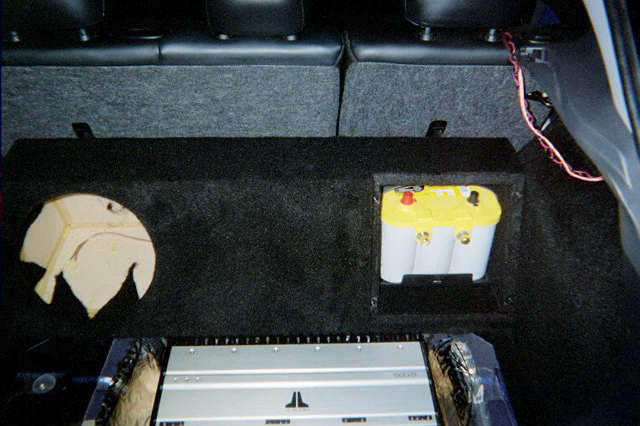
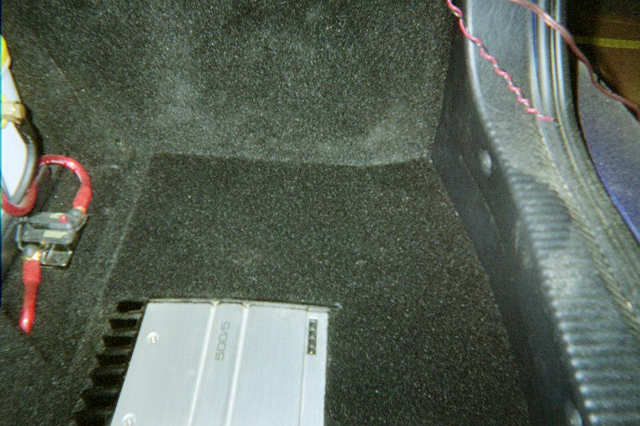
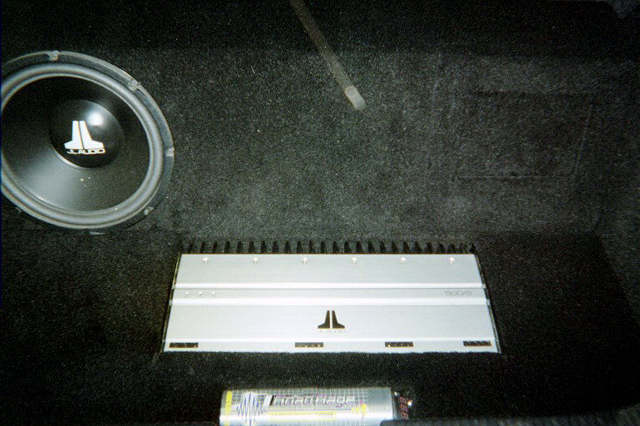
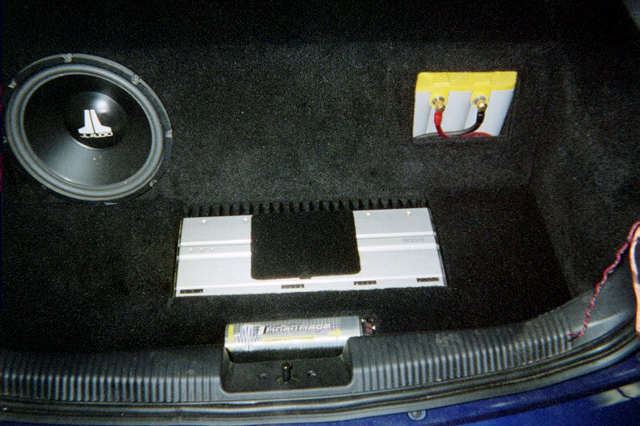
The battery fits well inside the right side of the woofer box, with it's own 100 Amp breaker
I neded to make a replacement panel for the left side, since the original was designed to cover a factory 8" sub that was being removed.
I also re-covered the right side to match the left, as well as the box, and amp cover. Before all the panels went in I completely insulated the sheet metal with Dynamat Extreme. To speed up the panel fabrication, I used the forward portion of the esisting panel and grafted a conforming rear section to it, then covered the whole thing. the picture to the right also shows the battery cover , and it's removable window from behind.
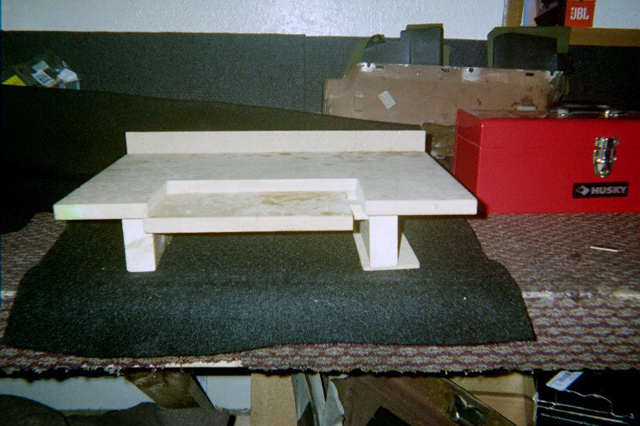
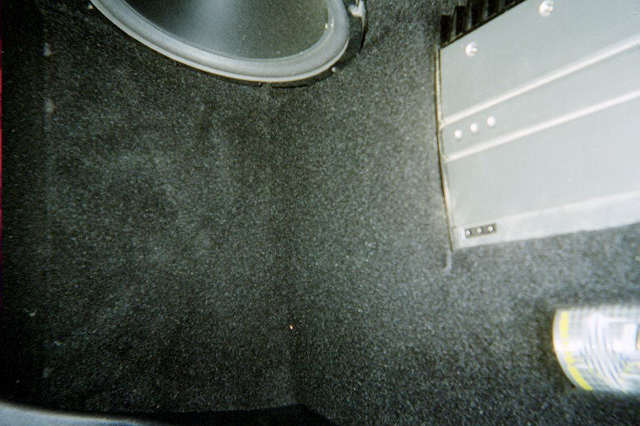
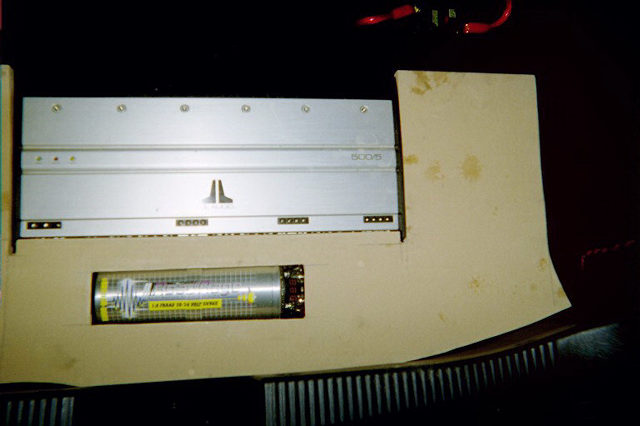
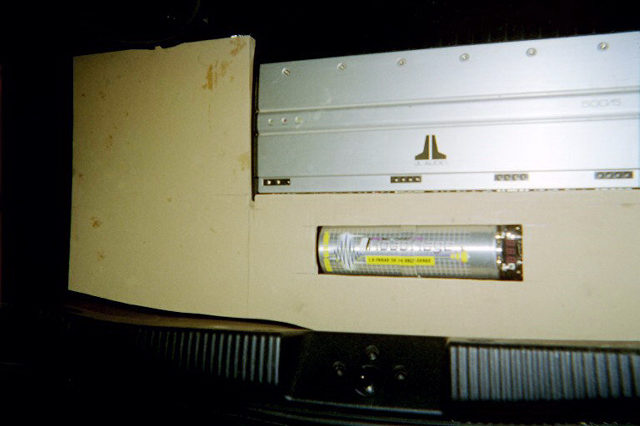
When creating a flush look in the rear of this Focus, I needed to control the height of the amp and capacitor. This mounting base allows for the difference in the two components thickness. The little "foot" on the right leg gives a level surface for a uniform appearance. The vertical flange on the back edge was to block visibility through the fins on the amp. This mount was then covered with black carpet to conceal any visible gaps in the top cutouts.
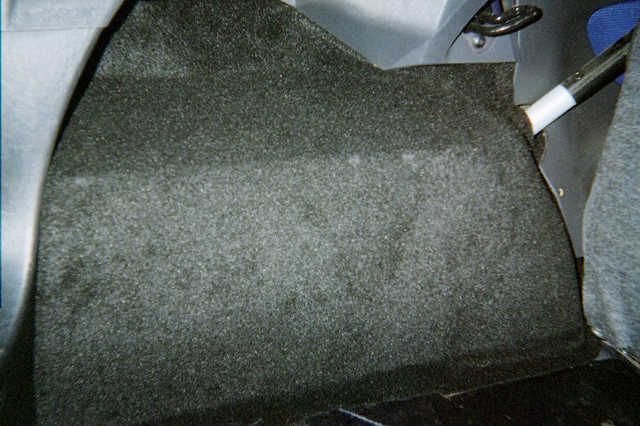
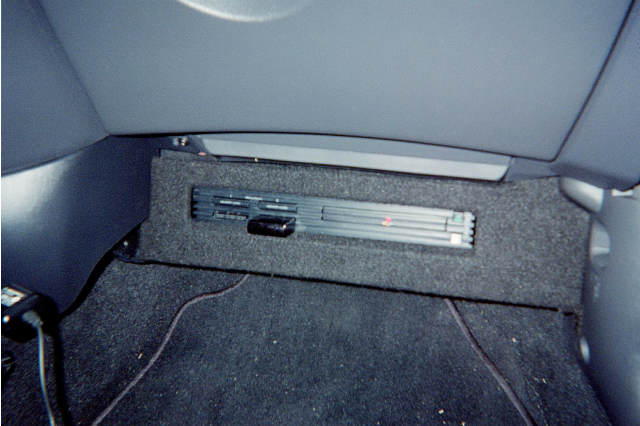
As close as you can get this gives a totally clean look without any visible gaps.There's actually a 1/8" gap around all sides, and openings to allow for the carpet fill. The mounting base brings everything to level with the floor, and we end up with a flush look that appears as if factory built.
Normally I use 1/4" Tempered harboard to cut for the top panel, but in this case I actually was able to get these clean, close cuts in 3/4" mdf!
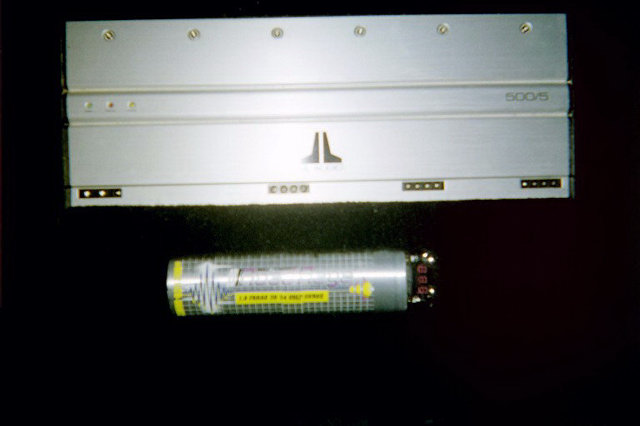
The closer you get, the better this looks! There's probably 100 hours in all the fabrication, with about 40 in the rear section. Including the woofer box/battery holder.
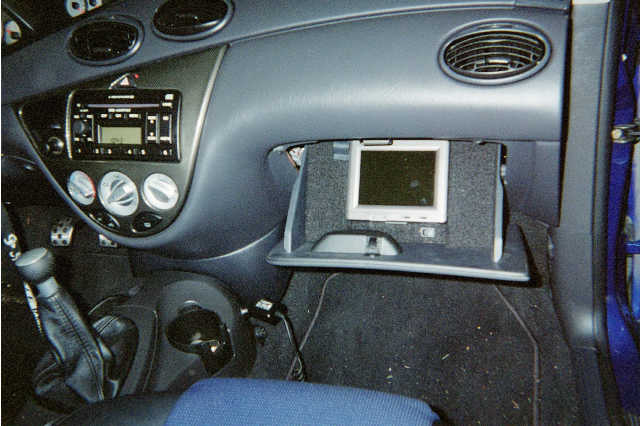
Now what about that PS/2? I wanted to keep it in the front for driver access, while keeping it low key for security. I also needed to install a front screen while retaining the original dash unit.
Easily visible even from the driver seat, yet disappears when the glove box is closed, the 5.6 monitor got the job done without being obvious. It did take 2 tries to get the fit right. Press-in with no screws. I've been doing the under glove changer mount for about 20 years, mostly for pick-ups with limited space. Using it to drop in a PS/2 was a natural.
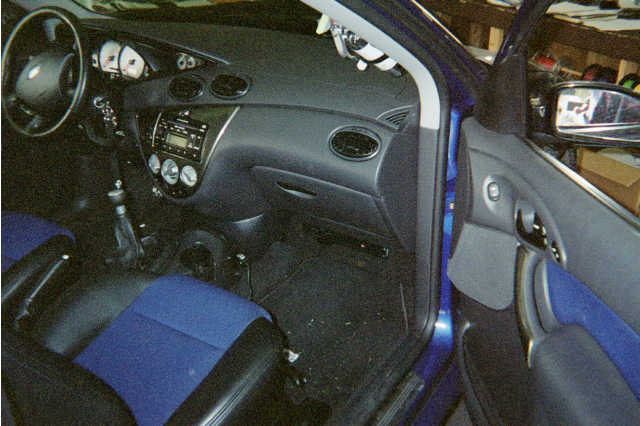
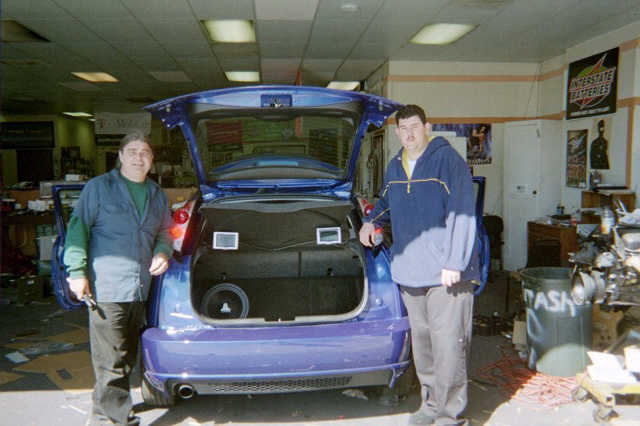
From the front to the rear, this baby is tight, and clean. I know Bill Ford doesn't have a Focus like this!